 after
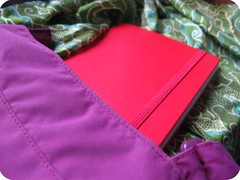
afterI'm a big fan of the plain moleskines for years. I carry a small black one as my diary and notebook where ever I am. This year I also went for a bigger one serving as my school planner. In a crazy spur of moment I choose red, although it's not my color at all and doesn't match with my bags or cloths. When I discovered Hannas tutorial it took me a while but than I realized, that this is the way to go.
Because the year is already on the decline there was not much to go wrong. Those remaining only 3 month I could easily live with a ruined notebook if it wouldn't work out.
What a chance just to try and play with motives, paper and glue. It was my first time crafting like this.
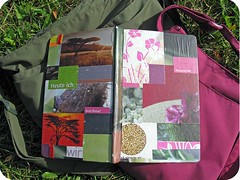
The overall results really makes me very happy. The topic matches very much me as well as the colors match my daily bags.
What does not satisfy me are the bubbles that came to life after I covered the collage with modge podge.
And although I applied modge podge as a finish two times it is not durable enough. Already the paper has some teared off spots after one day of using it.
Any suggestions for improvement are more than welcome.
In case you also want to start something like this: Have fun! It's a really enjoyable project for a (rainy) afternoon.
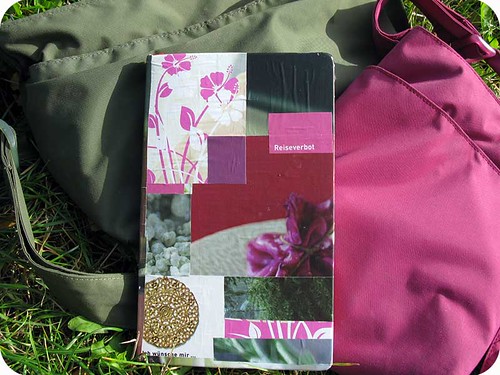
All the paper came from a magazine. For my english readers it says on the front side "not allowed to travel". Remember it's my work planner. ;-) The letters on the bottom say "I wish ...".
On the back side comes the "Have a good trip" for ME and hopefully for WE.